Tuesday, 29 September 2015

Project: a special shaker birthday card


What to make for the friend that gave you the passion for card making? A big challenge every year, I can tell you.

This year, I wanted to feature something from the Stampin' Up birthday set I bought from Claire, and decided to make a shaker card. The paper set is from the Neopolitan Recollections stack from Michael's, as is the frame around the shaker and the stitched bunting. I used metallic candies to hold up the bunting so they look like brads. The shaker filling is sequins and gems, and I like that you can just make out the cake and 'Party' message behind the bling.


It's an extremely cheerful card and just tricky enough to demonstrate how much I've learned this year. I know she'll like it and I can't wait to give it to her face to face.

Happy birthday C! x

Monday, 28 September 2015

Project 257: A trio of car and train cards


Dave (who commissioned yesterday's card) asked if I would also make one for his dad. His brief was classic cars or trains. "Classic dad stuff." Somehow, the brief being a bit broader I struggled more with this one!

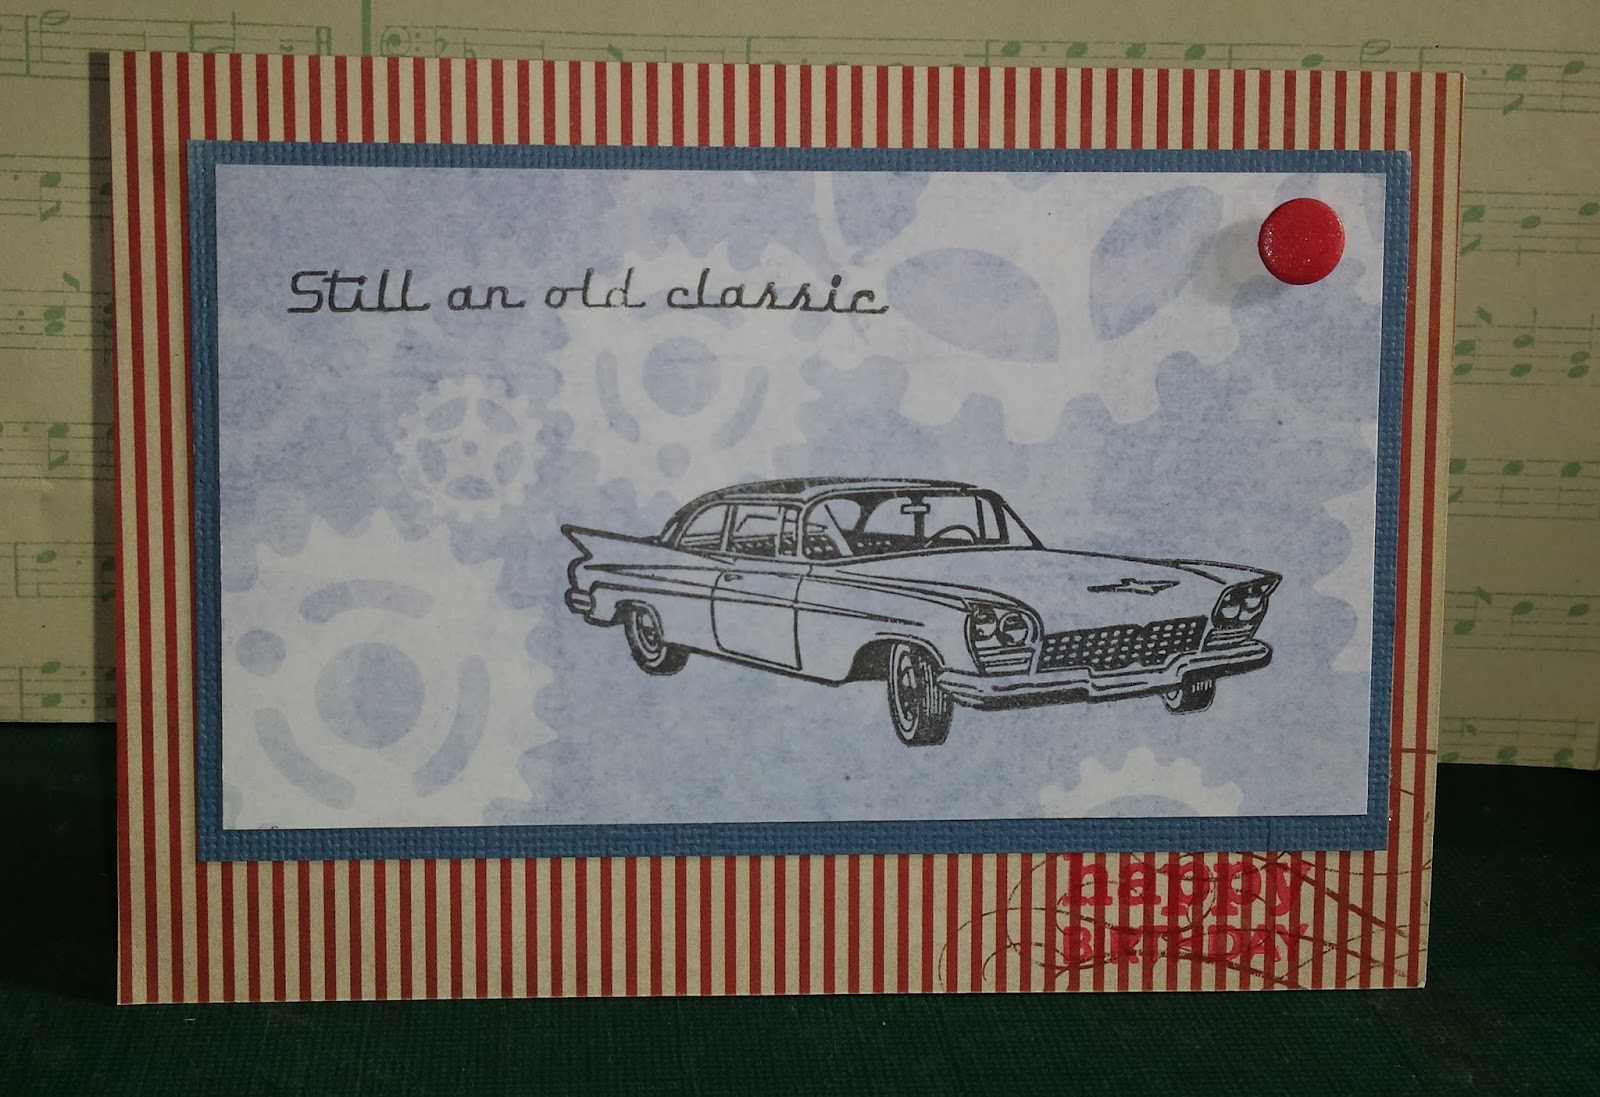
I decided to try three things and let him choose. The first card is probably my favorite for its simplicity. Actually all three are simple layouts but took a while to dream up! This one uses an image and sentiment stamp from 50s Get Stamping magazine set. The paper is Chronology and the red background is from My Mind's Eye.


I used a train stamp from a Recollections vintage transportation set I have and blended a black and a brown ink to get the faded ink. The greeting and the diecut are both from the Chronology set.


This one was so simple but so nice! I tore a piece of faded newsprint paper, added the big sentiment and a car from the same vintage transport set. I used a black card for this and really that was that.

I don't know which one he'll go for but I hope there's one here that he likes.


Sunday, 27 September 2015

Project 256: A trio of critters birthday card


My buddy Dave at work has commissioned a few cards and this week he asked me to make one for his girlfriend Nicola. He was quite specific in his requests, asking for a hedgehog (called Sprinkles) a racoon (called Marley) and a fox (called Clive). The more specific, the better I say!

I decided to feature the fox stamp from Gorjuss and wanted to do something different so I made a joyfold card layout as that allowed me to anchor each side with a different critter and also put her in the middle. I colored her with ProMarkers and diecut her out using an ornate tag die.

The little fox stamp is cut out with a finger blade, as is the little hedgehog stamp which is from Little Claire. The racoon is a sticker - I didn't think either of the two racoon stamps I had were the right style/size and I think he's ok.

I added the little peel-off letters as well as the greeting. I normally don't love peeloffs but it's a great way to add personalization.

The ribbon is from the 99p store and when untied will open the card.

Another challenging creation but I think it meets the brief! 

Thursday, 17 September 2015

Project 255: A touch of ombre


I was inspired by this week's Retro Rubber post to do a project featuring ombre. This girl stamp is relatively new but the Happy Everything is at least 4 years old - I've had that from one of my oldest sentiment sets.

The paper is blended with purples and blues to get the ombre effect, and the light purple strip also features a touch of ombre. I love how she just disappears into the darkness, it's ethereal and yet still pretty simple as a layout. 

The grey greeting is inked on the edge as well - once I start the ombre I just can't stop. 

This is my final post from the deep dark hiding spot I found in Claire's craft room. *Starts crying* 


Wednesday, 16 September 2015

Project 254: Some colored and cut critters


More fun cards with Claire today. Claire has some great little critter stamps and dies and she was kind enough to let me play with them. The lighting isn't great as I'm taking these from my hotel room, sorry about that!

The hero card is just too much fun. There were a dozen greetings and I thought this combo of 3 was so funny. I crack myself up.

The paper is a scrap from her stash and the little adhesive dots were a new discovery in my exploration of her stash. The critters are colored with ProMarkers and I drew on the border by hand.


This one is a bit simpler. We cut out the cat, shorts, banner and skateboard separately. The papers are all scraps from her stash and the cat's colored with an aqua brush and Distress inks. Another hand drawn border just because it was looking a bit naked.

I love these little critters and can't wait to share them with my mom and sis as I'm seeing them in just a few days!


Tuesday, 15 September 2015

Project 253: Watercolor stamp effect


This weekend I had an epic NYC playdate with Claire. Wahoo!

We got up to a few fun new tricks and techniques, including the one featured here. She showed how to spray a background stamp with water and then you lay the paper down on top of the stamp. The headline is my second attempt, and I thought it was too much fun.

I used a watercolor stripe stamp from Claire's stash and thought the watermarks looked so good with the textured paper. The cactus is stamped and cut out (Lawn Fawn I think) and made into a sticker - another fun new technique from the playdate. These were colored with an aqua brush and distress inks. The sequins add a touch of fun. The greeting is actually from a different stamp set, but I thought it was a great greeting with the cactus.


This attempt was something a bit different. It was a smaller stamp but stacked it up to get a deeper panel. I thought this looked a bit like rain and used a cloud stamp from a Simon Says Stamp set and cut it out by hand. The grey card is embossed with this gorgeous embossing folder from Claire's stash. She's not allowed to buy folders without me. This is too nice. The little sequins and glue dots are a great little rain dot.

It's a great technique and one definitely to use again.

Monday, 7 September 2015

Project 252: A stamp, a sheet of corrugated paper: 3 cards


In the latest Bugaboo sale, Claire and I went a bit nuts and bought loads of stuff we didn't need but wanted oh-so-badly. This little autumnal display is great. I have a few of the Bugaboo flower-in-jar images and this is a great one for the collection. (See? Justified.)


I printed out these digis in three different sizes as I wasn't sure which size would be best. I colored them all with ProMarkers and then cut them out in circle dies.

I decided to use my new blending tool for 2 of the smaller circles, going from yellow to deep orange. I did the as opposites so one would be light to dark and the other from dark to light. For the biggest one I didn't think there'd be enough background to make it worth it. 


For the smaller two I cut circles of orange corrugated card and then used it as the background for the biggest one. I had a real fixation with corrugated card for a while and this is my last scrap of orange. 

I think they're really cheerful for autumnal cards and I'm delighted with the final result, two may make their way into the mixed sets for my sister and mom as well...