My mission statement for this blog: Track the progress of my resolution to start a new craft project every week, create some sweet gifts and bolster my crafting street cred. This is the record of how it's going.
Thursday, 26 May 2016
Project: Age related sentiment at MAWTT
Hello everyone! Welcome to another Moving Along with the Times challenge. We want to see an age related sentiment, whether it's a message about ageing or a specific number, we want to see what you can come up with.
My entry is a card for my sister-in-law, who's turning 30 just ahead of her wedding in Italy. Very exciting times! I personalised her card by tying in the Italian theme, using the Neapolitan sticker and paper set from Recollections. I had to layer it over white as the sticker wasn't opaque enough over the patterned paper - which I hope looks like gelato to match the Italian theme!
The greeting is from Endless Birthday Wishes from Stampin' Up and the glittery stickers are from Claire when she did a mad letter sticker dive at JoAnne Fabric (I think?).
It's pretty simple, the hardest part was the fussy cut around the sticker. I thought it looked best simple so I let it be. Can't wait to see what you all come up with!
Labels:
Blog challenges,
Cards,
MAWTT,
Stamps
Tuesday, 24 May 2016
Project 323: Magic sketch card
A while ago I saw these Tim Holtz Christmas dies in a sale and I splurged and bought them for myself and Claire, namely because I loved the 'Magic' that was included. Claire, being awesome, bought me this bunny and hat stamp and die set from Avery Elle as a supplementary gift. Isn't it fab?
I saw the sketch at Sketch Saturday and thought it would work well.
And as I <3 ProMarkers are having an anything goes challenge I thought I'd enter there as well.
I used glitter tape on the background and then colored the stamp with ProMarkers and die cut him out. The magic die is covered with glossy accents though I must confess I don't love it, I was a bit too heavy handed! The rest of the greeting is made up of gold letter stickers, stamping was too hard with the glitter paper.
It started on a black card blank but it was all a bit too heavy so I cut him out and put him on a white square and I'm much happier!
Labels:
Blog challenges,
Cards,
Die cut,
Stamps
Monday, 23 May 2016
Project 322: Boy birthday sketch challenge
I am getting a bit ahead of the game and wanted to make some cards for events in the next month because these weeks are incredibly busy. My father-in-law's birthday is coming up so when I saw CAS-ual Fridays were doing a boy birthday challenge I knew I would enter.
The sketch at CAS(E) this Sketch was perfect for what I had in mind.
I started with a stenciled background using Distress Inks in Mustard Seed, Spiced Marmalade and Carved Pumpkin. The bird is a Tim Holtz stamp that I won recently and I colored him with ProMarkers and then fussy cut him out. The balloons are from a Stampin' Up punch Claire recently gave me. The sentiment is from a set from Creative Stamping magazine, it is a new favourite.
The bird is so weird and wonderful, I know he'll be a firm favourite in no time.
Sunday, 22 May 2016
Project 321: Sunny sketch challenge
I used a Tim Holtz mini stencil and used Mustard Seed Distress Ink for the background. The two ribbons are both American Crafts. I added the crab die cut which is one of the oldest dies I have - Claire and I love them! I gave him blingy eyes and added the sentiment from Lawn Fawn.
So sunny and fun, this was a great first foray into stenciling on my own.
Saturday, 21 May 2016
Project 320: Blended color leaving card
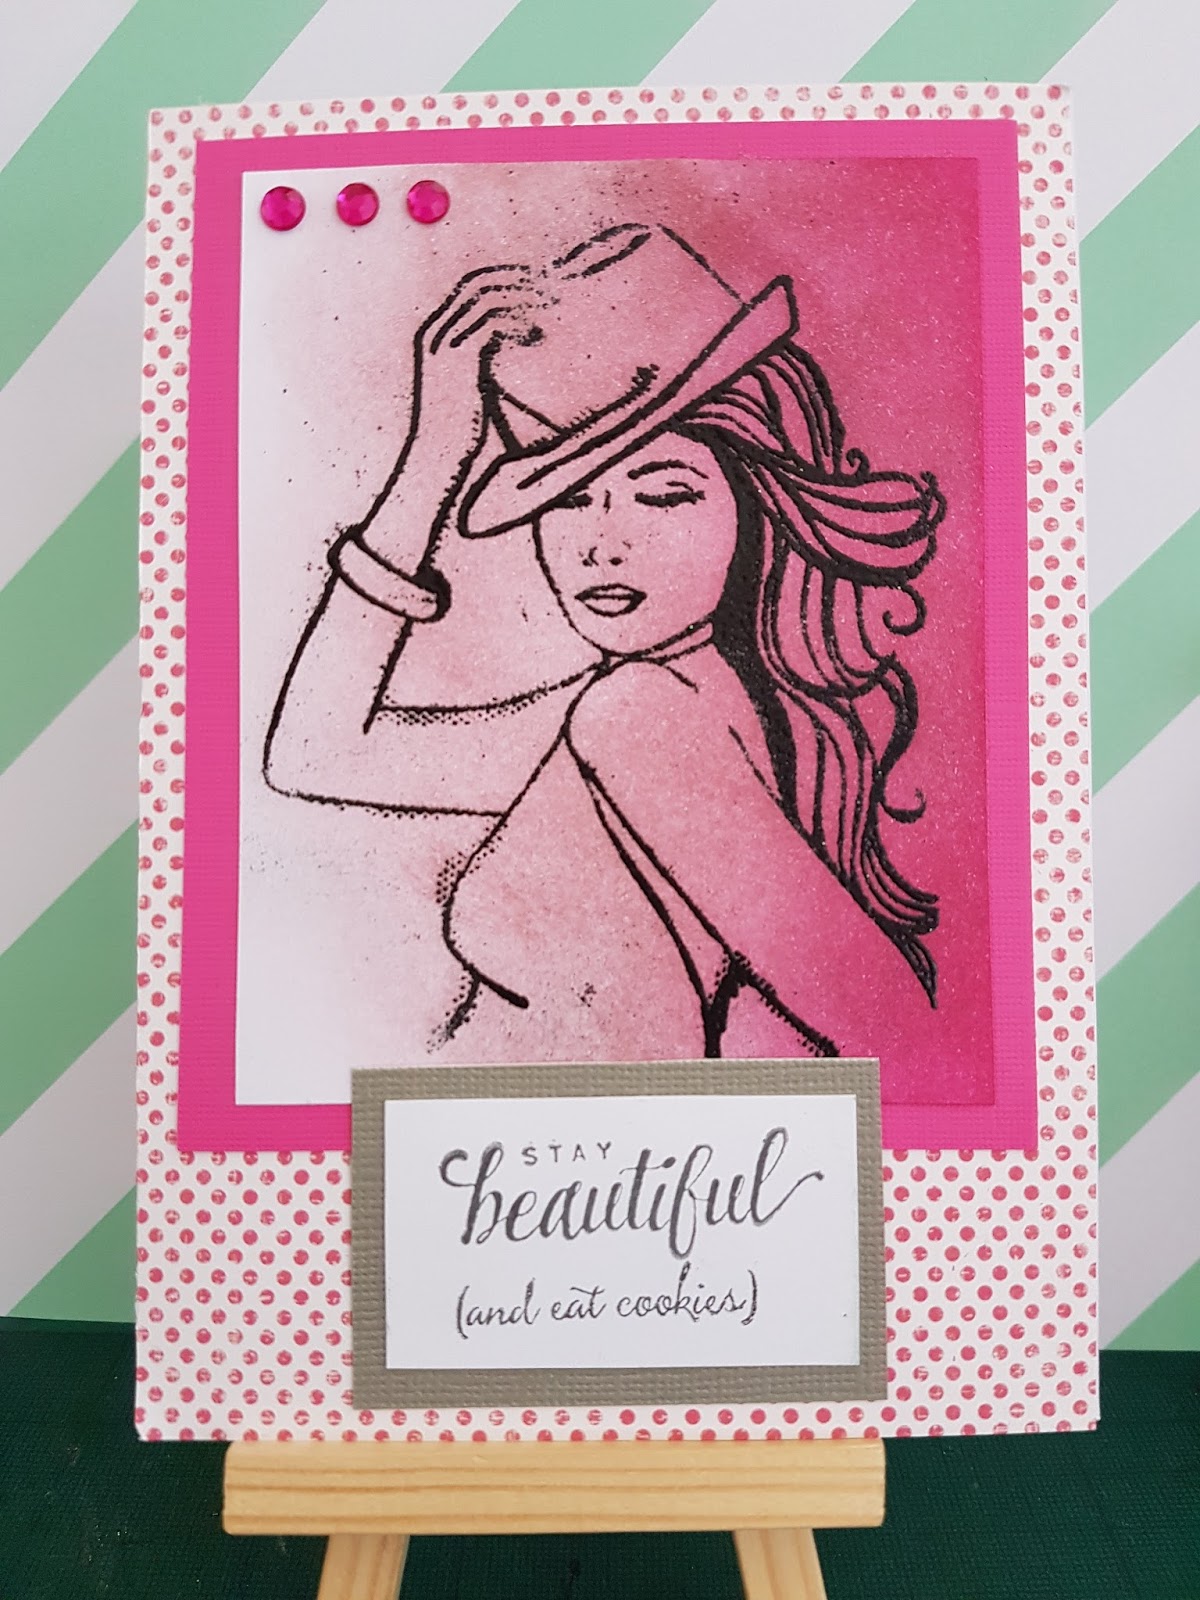
A girl on my team is leaving this week so I wanted to make her a special leaving card. She's very girly and loves pink so the colors at this week's Color Throwdown challenge were perfect for her:
I started with a Unity Co stamp that I heat embossed in black. I blended over it using Distress Inks in Victorian Velvet and Picked Raspberry for an ombre effect. I layered it over a pink and white spotted paper.
The first half of the greeting is from the Unity Co set (Stay Beautiful) and the second half is a new one from Stampin' Up (and eat cookies). I mounted it on grey to bring in that tertiary color from the color combo. All stamps are brand new from Claire, was so much fun to play with them. I think my colleague will love it, I'm thrilled with this result.
Friday, 20 May 2016
Project 319: Simple flower free thank you part 2
Following on from yesterday's post on flower-free thank you cards, here's the second batch I made to give my colleague some choices.
The first uses the Sizzix dies that I bought in the Black Friday sale. They are so easy and I used scraps for the brown, orange and green greeting (which is a Sizzix for Stampin' Up die). The little blue triangles were a recent purchase from my trip to the US with Claire and I thought they added a nice little detail to add some texture and accent.
The second card is a fun one, I heat embossed this fossil leaf stamp from Inkadoo and then blended the background using Burnt Sage, Mustard Seed, Squeezed Lemonade and Mowed Lawn. I used the same thanks die and added some yellow pearl accents.
With the previous 2 it took about 45 minutes to make all 4 cards, I was happy that I was able to make a bunch of different styled cards so quickly and add some new fun layouts to the mix.
Thursday, 19 May 2016
Project 318: Simple flower free thank yous part 1
My colleague asked if I had some thank you cards at my desk and when I showed him the selection I could tell they just weren't right. They were for people he didn't know that well and he thought they were all a bit too flowery. He asked if I could make some that were just bold prints or something a bit more masculine.
I went home last night and cooked up a few different options. The two I'm showing here are using a patterned card blank that have really lovely colors and patterns. The headline card features a Stampin' Up 'Tap tap tap' stamp and I added the greeting with a different set that has been in my collection since the beginning of my crafting. I fussy cut it out, mounted it on red then blue and then added some gold dots just for a few extra touches.
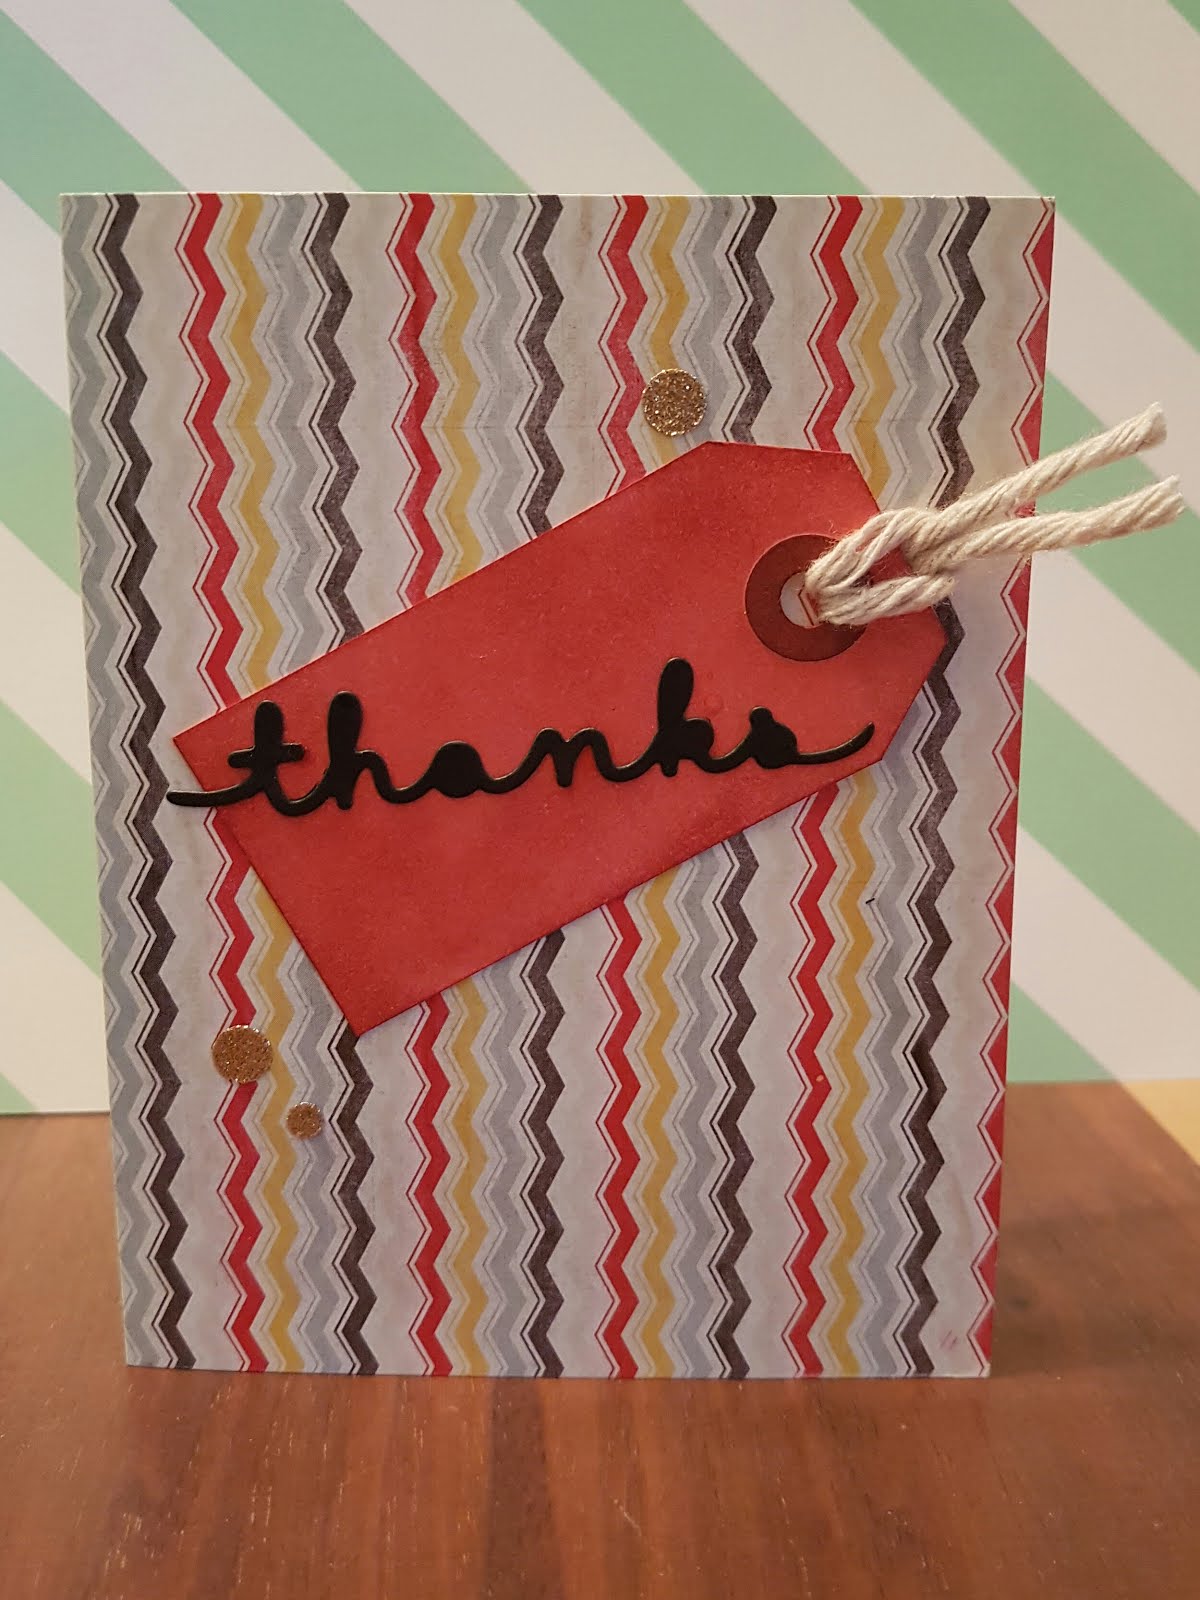
This second card is from the same set and I blended it using distress inks to get the red background. I tried another technique I learned this weekend (more to come on that) but it didn't really work so I tried again and kept it simple. I added a black die-cut thanks for the greeting and left it at that.
I'll add a few more ideas I tried out tomorrow!
Subscribe to:
Posts (Atom)